
PGユニコーンクリアサイコフレームの取り付け方法:ステップバイステップガイド+LEDペアリングのコツ
TakaraModel
PGユニコーン クリアサイコフレームの取り付け方法 — クイックリファレンスや必要なものを網羅した実践ガイド。
- クイックリファレンス
- 必要なもの
- 必須ツール
- オプションですが推奨
PGユニコーン クリアサイコフレームの取り付け方法:ステップバイステップガイド + LEDペアリングのヒント 完全分解手順、クリアとライトガイドの取り扱い、ケーブル配線、確認チェックリスト
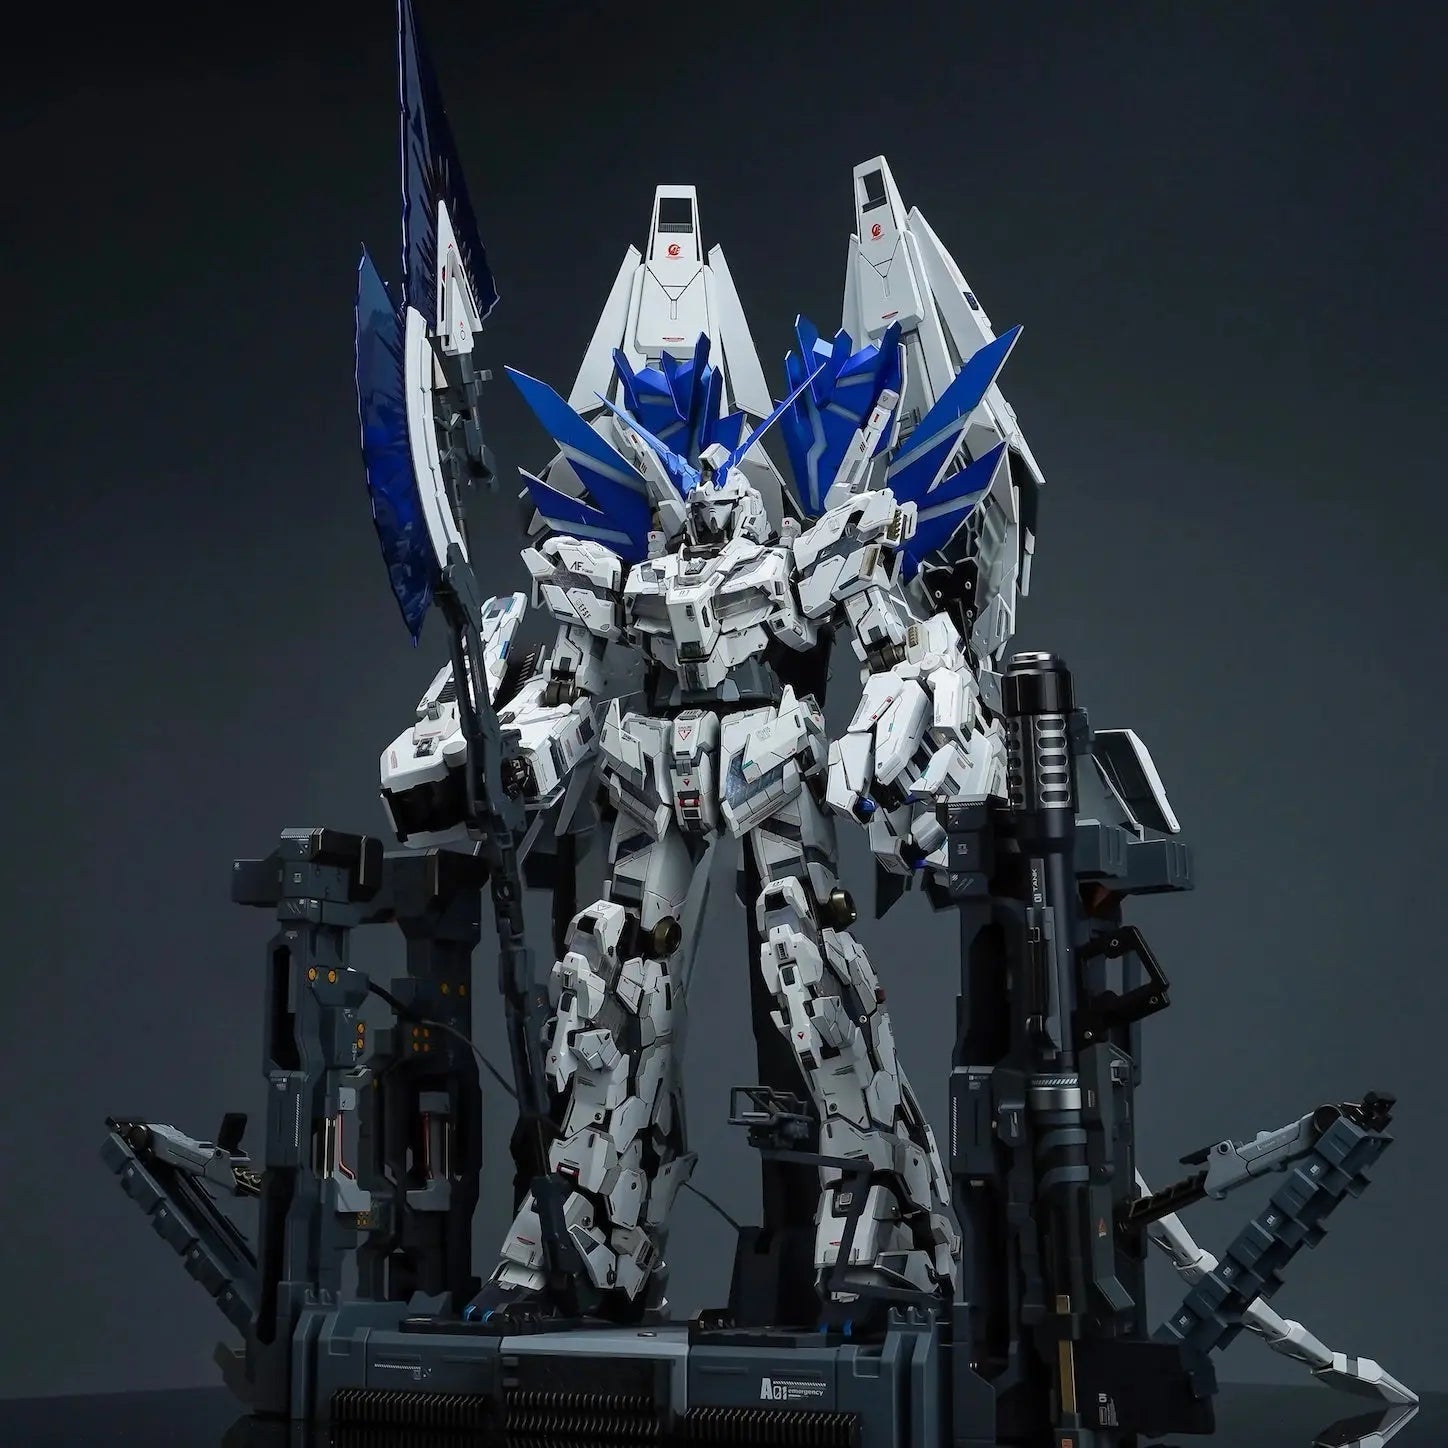
クイックリファレンス
▸ スキルレベル: 中級
▸ 所要時間: 4~8時間
▸ 必要なキット: バンダイ PG 1/60 ユニコーン(別売)
▸ LEDキット: ライトガイド版にはオプションですが推奨
必要なもの
必須ツール
- ニッパー — 鋭利で、面一カット推奨
- 先端が細いピンセット — PMMAパーツの取り扱い用
- サンディングスティック — ゲート処理用の400 / 600 / 800番
- ホビーナイフ / パネルライン彫刻刀
- 柔らかいマイクロファイバーマット — 組み立て中のクリアパーツ保護用
オプションですが推奨
- マットクリアコート (タミヤ TS-80)— クリア版の光拡散用
- PG 1/60 対応LEDキット — ライトガイド版の照明用
- プラスチック対応潤滑剤 — 調整が必要な関節用
- 拡大鏡付きライト — PMMAゲート作業用
始める前に:自分のバージョンを確認
クリアバージョン
- 綿手袋で取り扱う — PMMAは指紋がすぐに目立つ
- ゲート跡がより目立つ — 目立つ部分は1000番まで研磨
- オプション:LEDの拡散効果のために、組み立て前に内側のパネル面にマットニスを塗布
ライトガイドバージョン
- 乳白色のオパール表面 — ゲート跡が目立ちにくく、指紋も気になりにくい
- 前処理不要 — そのまま取り付け
- LED配置のヒント:最適な拡散のために、LEDとフレーム表面の間に小さな空気層を設けてください
フェーズ1:分解
末端から内側へ作業します。次の順序に従ってください:
- ステップ1: 装甲パネルを取り外す — まず手、足、下腿から始め、内側へと作業を進めます
- ステップ2: 胴体セクションを開く — 胸部装甲とコックピットハッチを取り外し、上部フレームを露出させます
- ステップ3: 腰部ブロックを分離する — 骨盤ジョイントが最も負荷を受けるため、慎重に作業してください
- ステップ4: 脚部アセンブリを取り外す — 腰、次に膝、そして足首の順に分離します
- ステップ5: 最後に肩と腕のアセンブリを取り外します
ヒント:元のサイコフレーム部品はラベル付きの袋に保管してください — 参照や将来の復元に役立ちます
フェーズ2:フレーム交換
胴体コアフレーム
- 平らなスパッジャーまたはホビーナイフの背を使って、クリップ式パネルを外します
- 本固定する前に、ユニコーンモードとデストロイモードの両方の位置で交換用パネルを仮組みしてください
- PMMAの応力亀裂を避けるため、クリップ留め中は均等に圧力を加えてください
頭部ユニット
- NT-Dの角分離機構は頭部フレームを通っているため、交換後にスムーズに動くことを確認してください
- 変形サイクルが正しく機能することを確認してから、頭部装甲を組み立て直してください
腕と脚
- パネルごとに、近位から遠位へ(肩/腰 → 手首/足首)交換します
- 肘と膝の関節は最も機械的負荷がかかるため、完全に装着されていることを確認してください
- ライトガイド版の場合:膝と肘のセクションに、計画されたLED用の隙間を残してください
フェーズ3:LEDキットの組み込み(ライトガイド版)
LEDキットの選定基準
- 8個以上のLEDセグメント 全身のフレーム各セクションをカバー
- カラーオプション: レッド(ユニット01標準)/ゴールド(バンシィ/フェネクス)/グリーン(最終決戦)/カスタム
- ワイヤレスまたは隠蔽式バッテリーパック —最終展示時に外部配線が見えない
ケーブル配線の順序
- 胴体コア: メインバッテリー/コントローラーをここに接続 — すべての分岐ケーブルの中継ハブ
- 胸部 → 頭部: 上半身のLED配線はネックチャンネルを通す
- 胸部 → 腰部: メイン幹線ケーブルは胴体と骨盤の接続部を通る
- 腰部 → 脚部: 分岐ケーブルを各脚の内部チャンネルに通す
- 肩部 → 腕部: 最も細い配線 — 肩アーマーを閉じる前に通す
最終アーマーパネルを閉じる前にすべてのケーブルを配線します。配線中は模型対応のテープで固定し、回路の確認が完了するまで永久接着は行わないでください。
フェーズ4:再組み立てと最終確認
逆の順序で再組み立てします — 四肢を胴体より先に、胴体アーマーは最後に。次に確認します:
- ✓ デストロイモードでクリア/導光フレームパネルがすべて完全に見える
- ✓ NT-D変形サイクルが引っかかりや抵抗なくスムーズ
- ✓ ユニコーンモードとデストロイモードの両方でキットの全LED回路をテスト
- ✓ アーマーパネルの隙間や位置ずれがない
- ✓ すべての関節がへたらずにポーズを保持する
よくある問題と解決策
- ▸ パネルが最後まで収まらない: ダボ/タブを600番の紙やすりで軽く研磨してください。PMMAはABSより公差がやや厳しいため、決して無理にはめ込まないでください。
- ▸ クリア版のLEDホットスポット: パネル内面に薄くマットニスを塗って完全に乾燥させるか、LEDとフレームの間に薄い拡散フィルムを挟んでください。
- ▸ ライトガイドの暗い部分: この素材は側面/エッジから光を拡散します。LEDが表面に直接押し当たっている場合は、少し後ろに下げて拡散を回復させてください。
- ▸ 取り付け後に変形が固い: ケーブルの取り回しが引っかかっていないか確認してください。PGユニコーンの機構には約2~3mmのパネル可動クリアランスが必要です。
- ▸ 組み立て中にPMMAパーツが割れた: 交換についてはTakara Model Studioにお問い合わせください。PMMA対応の接着剤のみを使用してください。通常の模型用セメントは対応していません。
よくあるご質問
Q: 取り付け全体にかかる時間はどのくらいですか?
開始時の状態にもよりますが、4~8時間を見込んでください。すでに組み立て済みのキットから作業する場合は、分解とパーツ整理にさらに1~2時間を追加してください。新規で組み立てる場合は、最初の組み立て時に取り付ける方が簡単でおすすめです。
Q: 部分的に組み立てられたPGユニコーンに取り付けられますか?
はい — 実際のところ、組み立て中に取り付けるほうが、完成したキットのフレームを後から交換するより簡単です。キットが一部組み立て済みの場合は、必要な箇所だけを分解し、その部分のフレームパーツを交換してから、次に進む前に組み直してください。
Q: 経験豊富なビルダーがおすすめするLEDキットは?
少なくとも8個のLEDポイントがあり、ボディセクションごとに個別制御できるキットを選びましょう。色温度も重要です。暖白色は金色がかった輝きを生み、寒色白は青白い光になります。アニメに忠実な色を再現するために、バリエーションごとに専用の赤・緑・金色LEDも用意されています。長期展示用途には充電式バッテリーパックがおすすめです。
Q: LEDとの組み合わせにおいて、クリアとライトガイドの違いは何ですか?
クリアバージョンは光を直接通し、個々のLEDの位置がよりはっきり見えます — アクセント照明や撮影に適しています。ライトガイドバージョンは光をパネル表面全体に拡散させ、均一な輝きを生みます — これがアニメに忠実な効果で、展示照明にはより適した選択です。LEDを追加するなら、ライトガイドがおすすめです。
Q: サードパーティ製PGユニコーンキット(Daban、Dragon Momoko)に対応していますか?
多くのビルダーは、主要なサードパーティ製PGユニコーンキットで問題はないと報告しています。微妙な公差のばらつきにより、ダボ接続部を軽くヤスリがけする必要が時々あるかもしれません。このキットはバンダイ純正の1/60 PGユニコーンの金型向けに設計されています。サードパーティ製キットとの互換性は良好ですが、すべてのリビジョンで保証されるものではありません。
Q: これは正規のバンダイ製品ですか?
いいえ。これはTakara Model Studioによる独立生産のアフターマーケット交換キットです。Bandai Spiritsとは提携していません。PGユニコーンのベースキットは、別途販売されているBandaiの製品です。
これは独立生産の交換キットです。Bandai Spiritsとは提携していません。LEDキットは別売りです。Takara Model Studioは、不適切な取り付けによる損傷について責任を負いかねます。